How I Brew Decks With No Cards At All – And You Can Too!
By Jonah “FourM”
In my previous article, I laid out an overview of my process for brewing by first assembling a structure to make sure that my deck comes together as a cohesive whole. Here, we’ll go deeper into that process so you can craft your own templates to maximise your deck’s performance.
Step 1: Identify your gameplan (Skipper)
The first step is to identify your gameplan; the thing you want your deck to do which will push you towards victory. I call this step Skipper because it’s in charge of the whole thing. Every decision you make from now on is answerable to Skipper. Write that thing as a single sentence and come back to it if you need a reminder.
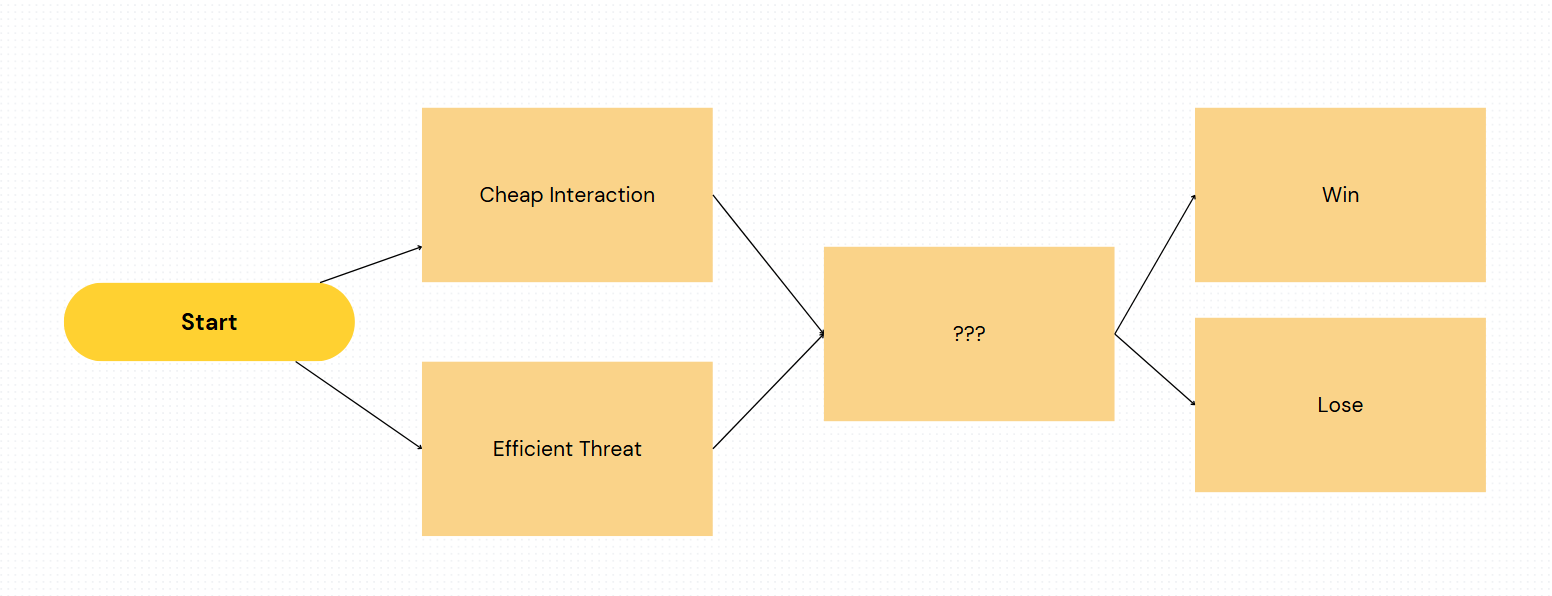
Once you have a goal, you can think about how you’ll actually accomplish it. There are two constants about every game of Magic: they start, and they end. Sketch out the things you expect to play in the first two to three turns and how you expect the game to end. You don’t need to include every little line – the point of this step is to help you figure out what you’ll need, when you’ll need it, and how it should work together to get there.
Let’s look at an example for an all-in reanimator deck:
- Gameplan: ‘I want to put a single game-ending threat into play as quickly as possible, mainly using the graveyard.’
- Early sequences: ‘I’ll need to have a win-con in hand, along with a way to get it into my graveyard and then onto the battlefield which can both come down by turn 3. I might also want to start with a discard spell or have a counterspell as protection.’
- Endgame: ‘I’ll have the biggest creature on the board, which ideally should be able to win alone.’
Step 2: Prepare your tools (Rico)
With your plan established, it’s time to pick out the pieces you’ll need to execute it. Create some categories of cards you’ll need to perform the jobs outlined in the gameplan. Some of these categories will overlap, and that’s okay – in fact, it’s perfect! This is where you see how your cards fit together and form patterns which come out in game. Sometimes these overlaps will help define your specific card choices (e.g. the overlap between “hand disruption” and “turn one play”). Other times, tensions come up which you’ll have to manage in order to keep everything flowing smoothly (e.g. “mana dork” and “hand disruption” might both overlap “turn one play”).
You’re probably already be familiar with this type of problem, since it’s built into Australian 7 Point Highlander with the points system. You can’t have all the points, so you need to think in advance about which pointed cards will give you the best advantage over their alternatives. The same goes for every other slot in your deck! You only have so many resources to spend, and if too many cards demand the same resources at the same timings, you might stumble. There will always be some tensions, but knowing what they’ll be in advance gives you the opportunity to find solutions before they become problems.
Let’s look at our reanimator deck. We know we’ll usually have three mana to spend by turn two, and we’ll definitely want to spend it on “discard effects” and “reanimate effects” if we can. That doesn’t leave much room for “hand disruption”, “counterspells”, or “tutors”, all of which are important for making our deck consistent and resilient. What do we do?
We could cut a category that’s causing problems – here, it’s likely “hand disruption”, which is the most demanding for that turn one resource. On the other hand, we could add another category to bridge the gap between the resources we have and the resources we want – “fast mana”. Or we could move one category over, leaving our “reanimate effects” to turn three and giving us more room to interact on turns one and two.
By the end of this step, you should have a more concrete idea of the things you need your cards to do, and where you can allocate resources to doing them.
Step 3: Run the numbers (Kowalski)
This is the part that is the most tempting to skip, especially for veterans, but I urge you to spend the most time here. This step will give you the most consistency, and consistency will be the force multiplier for your deck’s power in the long run.
“Having the nuts once, wins you one game. Having the nuts every game, wins you every game.” – Sun Tzu, ‘Things I Made Up On The Internet’, ~540 BC.
There’s lots to think about, so here are the basics to start. For your deck, try to determine how long a typical game should go, and how many mulligans you’re happy taking to get a good start. For your cards, figure out often you want to see them, and at which points in the game.
Once you know what you want by when, you can do the maths. I gave a rough guideline in my last article, but for best results you should use a hypergeometric calculator like this one. Just put the type of card in the left column, the number in your deck in the middle column, and the number you want to see in the right column (don’t forget to add the number of other cards in your deck!). Then put the number of cards you’ll have drawn and hit calculate to see your odds of having that combination of cards (you can also use this to tweak down if there’s a type of card you don’t want to see too early!).
This example gives us the chances of hitting a card which can pull of the reanimator combo on turn two:

Then start twiddling the numbers so you can see what gives the biggest improvement and get to a point you’re happy with. As a guide, I’ve found that 20% is a hand you’ll have occasionally but probably shouldn’t mulligan too heavily for. At 35-50%, it can be a viable primary strategy if you mulligan a lot. Once you’re at 70%, you’ve got something you can rely on having without needing to mulligan too much.
The Template
At the end, you should have something which looks a bit like this:
| Reanimator | Bombs | Reanimate Effects | Discard Effects | Hand Disruption | Tutors | Lands |
| Total | 10 | 10 | 10 | 3 | 8 | 19 |
| 1 CMC | 1 | 6 | 3 | 3 | ||
| 2 CMC | 7 | 4 | 5 | |||
| 3 CMC | 2 | |||||
| 4+ CMC | 10 |
Disclaimer: This template was built by untrained amateurs. I’m not liable for any games lost while attempting to play a deck based on this template.
It looks simple, but this blueprint describes all the machinery underpinning your deck’s gameplay. It’s finally time to flesh it out and take it for a test drive – but we’ll get to that next time. Until then, good luck, have fun, and may the best wizard win!

Jonah “FourM” has been playing MtG since the Khans of Tarkir block. Currently, he enjoys drafting, stomping opponents in Commander and brewing 1-2 decks a week. He’s also working on improving his skillset to make his mark on the RC circuit.
He’s also making weekly videos about his experiences playing 7PH. Check them out here!
